With this quick write up I am going to show you a theme we recently added to Ubuntu Budgie.
Vinceliuice, the author of this theme, delivered an awesome GTK/GNOME theme called Orchis. And how could we miss it? As soon as we saw it, we asked David to get it in our "Themes and Layouts" Application. Before we knew it, David included it, and by now all users of 20.04, 21.04 and 21.10 should have it available. Let’s check it out!
Orchis theme overview
This is a very elegant and smooth theme, with rounded corners, and many different options for colors and materials. It looks familiar, but at the same time slightly different from most GTK themes. We can have a quick look at Orchis theme defaults below here.
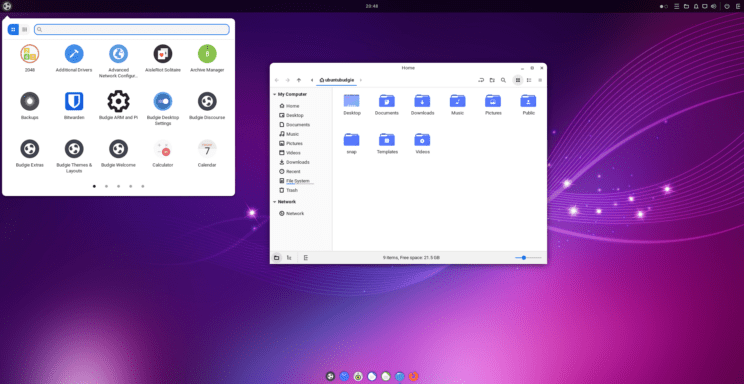
Orchis theme installation
Installing Orchis theme is very easy. All we need to do is open our Budgie Welcome app, and select "Themes & Layouts". Another way to reach this application, is to open Budgie menu and select "Themes & Layouts".
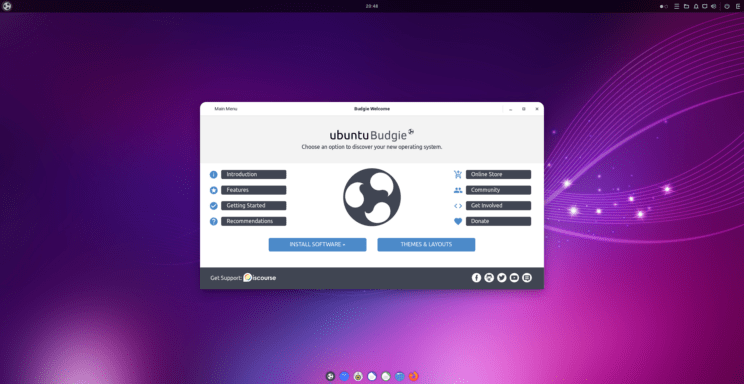
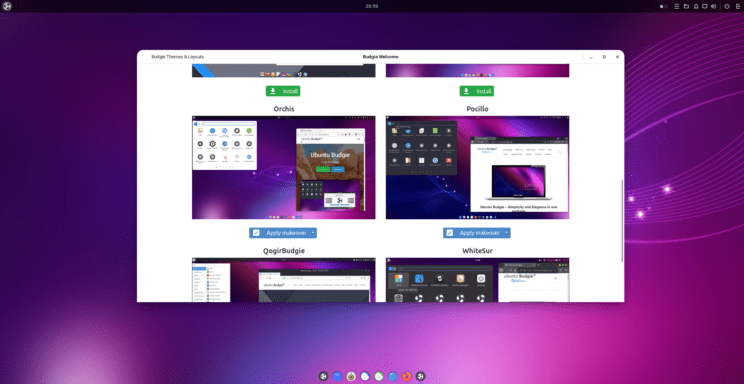
Once we open "Themes & Layouts", all we need to do is scroll down until we find Orchis, click to install it, and when ready click to apply makeover. As part of this makeover, we also get tela-circle-icon-theme and vimix-cursors. What a great combination, and all three components of this makeover are created by Vinceliuice.
Once the makeover is complete, it is a good idea to relog or reboot, to make sure all changes are applied.
Orchis theme tweaks
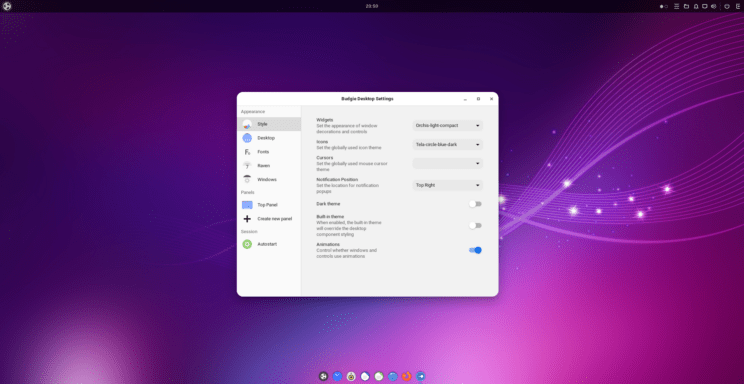
Keep in mind that Orchis defaults are not hard coded in the theme, but just one of the many options and color schemes available with this theme pack. We can, for example, quickly turn this into a dark theme. If we want we can also switch icon styles to those we prefer. In order to do this, we need to open our Budgie menu, and select "Budgie Desktop Settings"
What we need to change, is the "Widgets" style. Other options such as "Icons", "Cursors", and "Notification Position" are readily available in this menu.
As we can see, our default is Orchis-light-compact. Let’s go ahead and make it a dark theme instead!
Wow, so many choices here. List of different styles and accents, for both light and dark versions is impressive. For this quick write up, I am going to stick to the regular Orchis-dark-compact, but feel free to experiment.
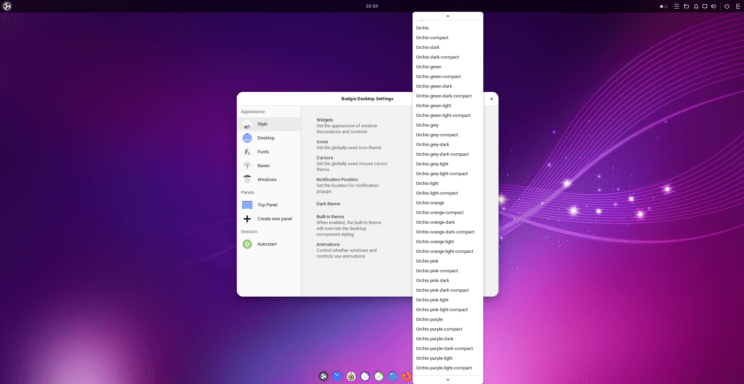
I can see that most of the settings are applied right away. However, it is always better to relog or reboot, to make sure all changes are applied.
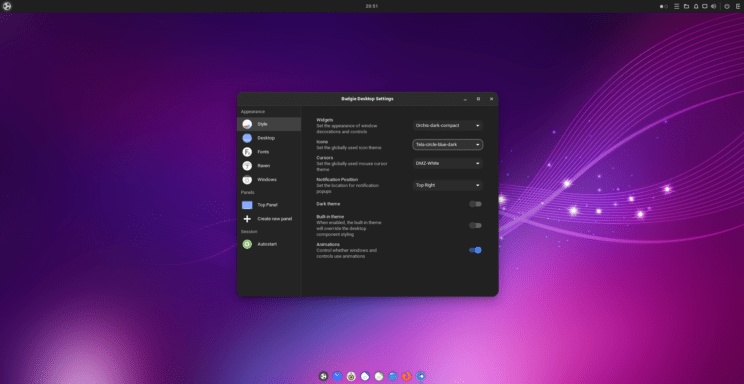
Orchis dark theme
And here we are, after a nice session relog, we have a sleek, elegant and dark version of Orchis theme.
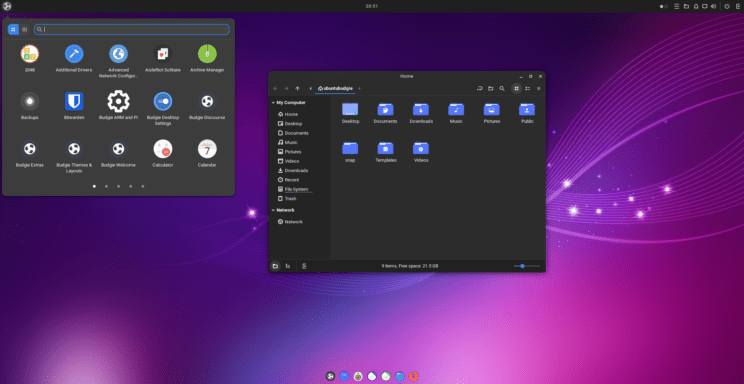
Conclusion and special thanks
In this quick write up we saw how easy it is to install, apply, and tweak a new sleek theme in Ubuntu Budgie. Special thanks to Vinceliuice for making this awesome theme, and to David for making it so easy to add it to Ubuntu Budgie.
If you want to give Ubuntu Budgie a try, check our discourse forums, request support or make a donation, you can check our project page: https://ubuntubudgie.org .
To learn more about Orchis theme, feel free to check Orchis theme on github: https://github.com/vinceliuice/Orchis-theme .